

Labels: indn212

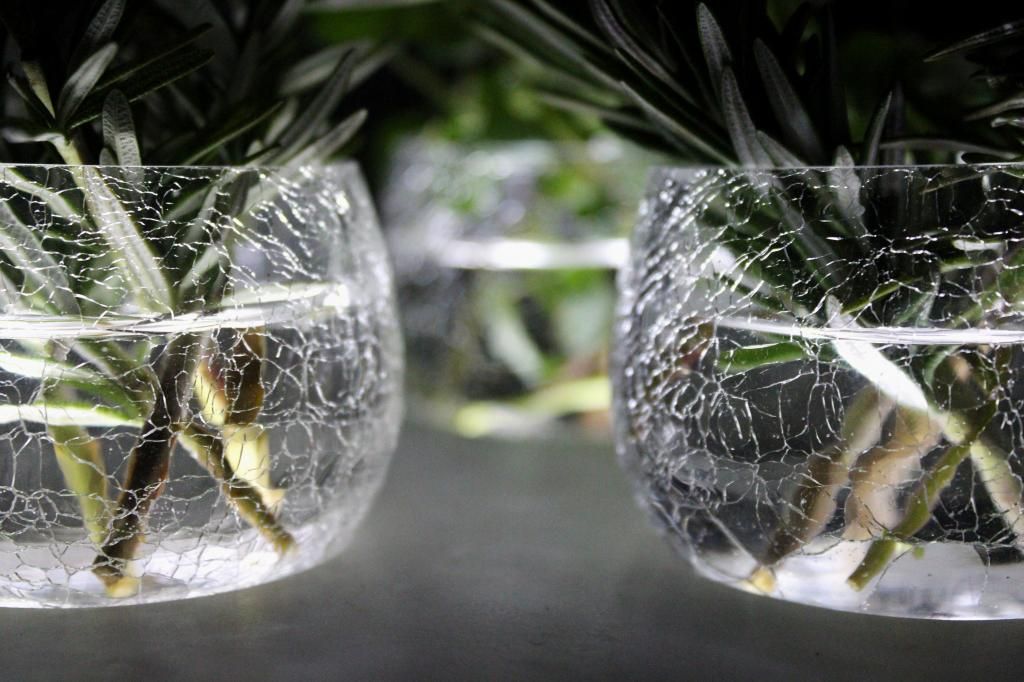
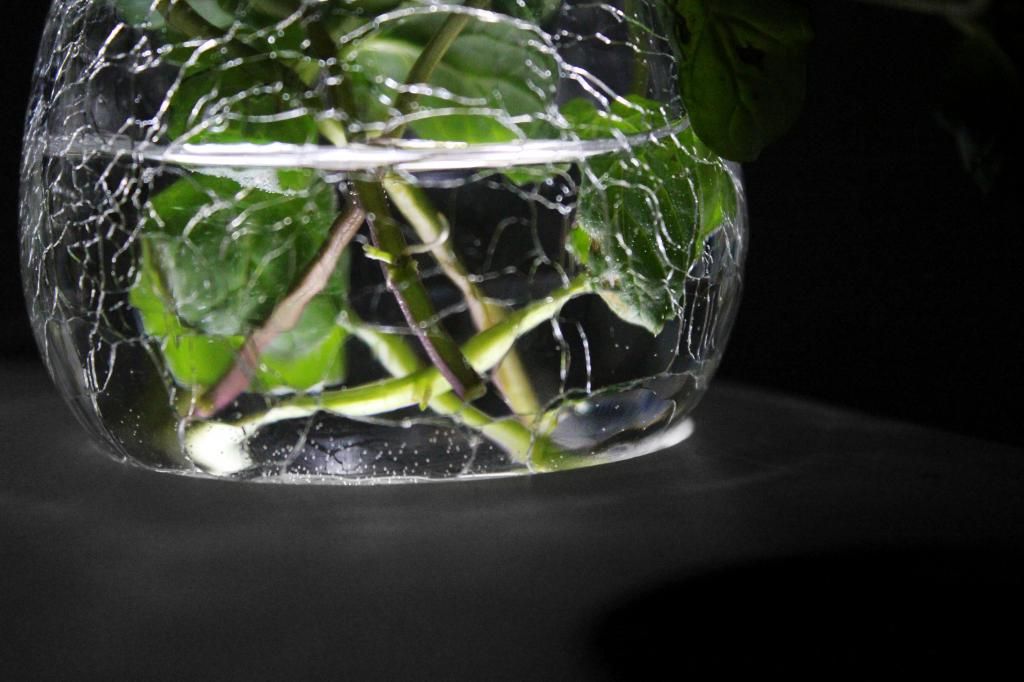
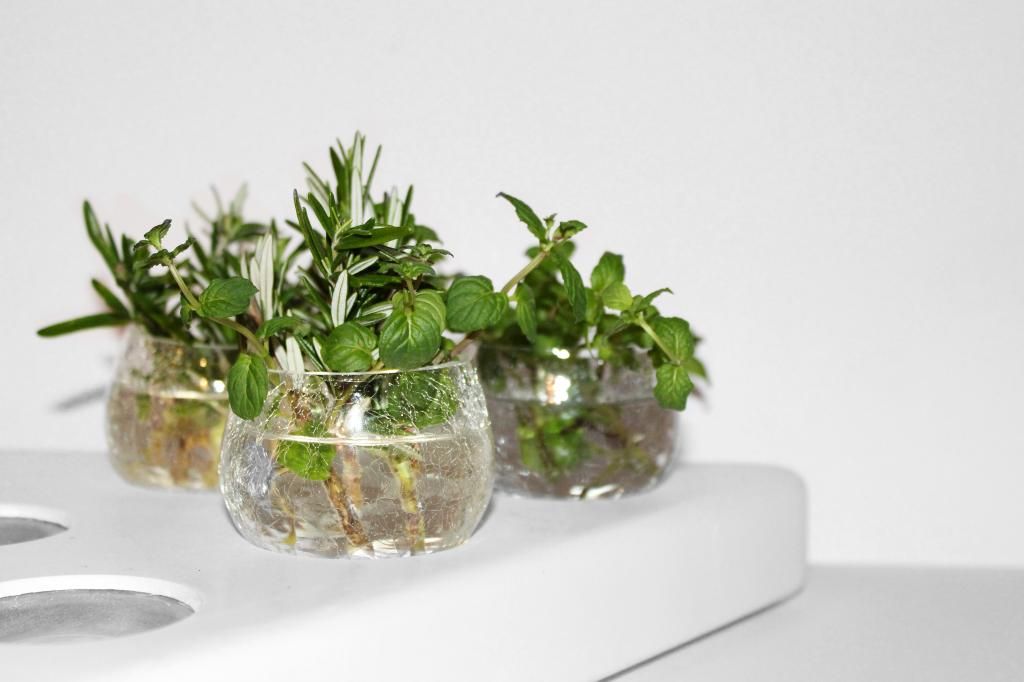
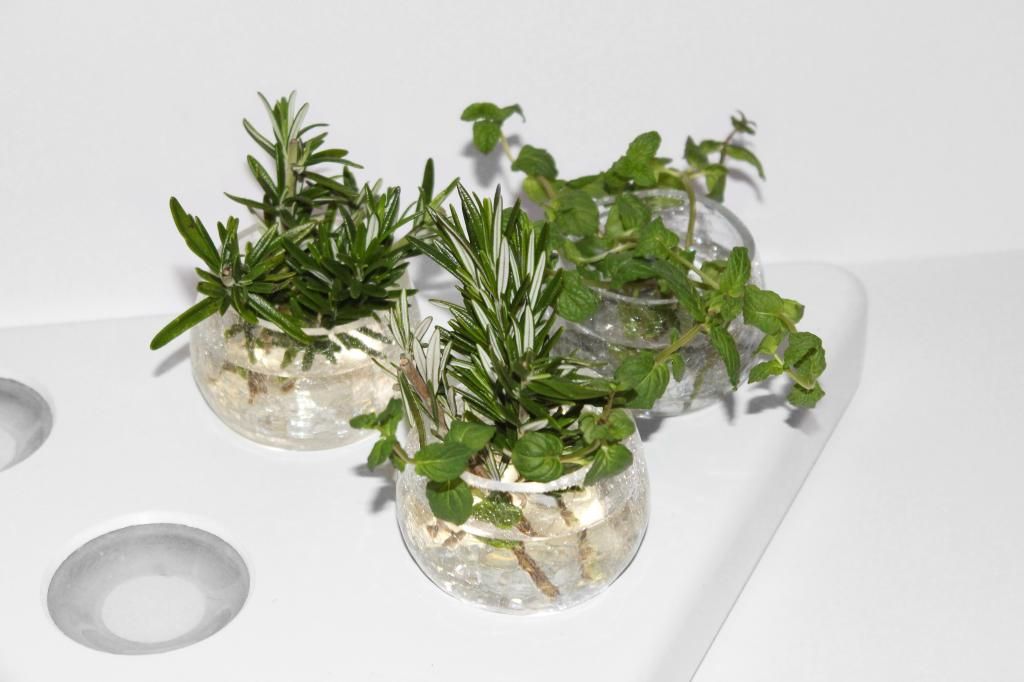
The purpose of this interactive lamp is to encourage city dwellers or anyone that lives in a smaller apartment to grow plants indoors. The light is adjustable in terms of which parts you want to be lighted up and in the day the pots are to be place at the corners, allowing the plants to receive sufficient light. The light gently illuminates the plant pot, playing around with the cracks in the glass pot, the water and the roots and stems of the plant. Visually it is relaxing and its simple design allows it to be able to easily integrated into any apartment space.

Labels: indn212
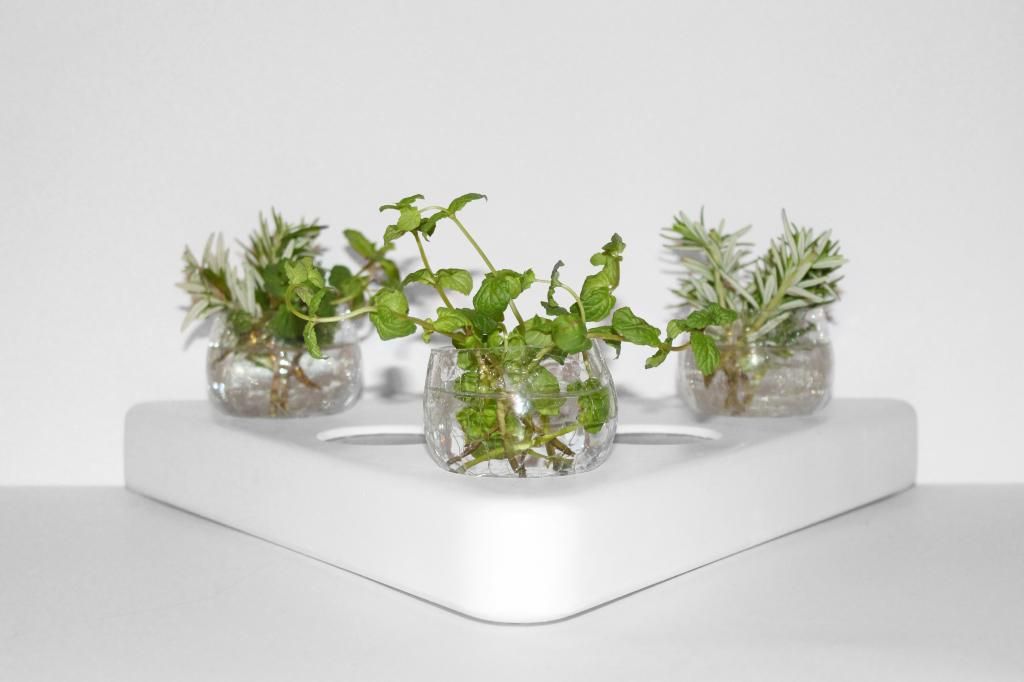
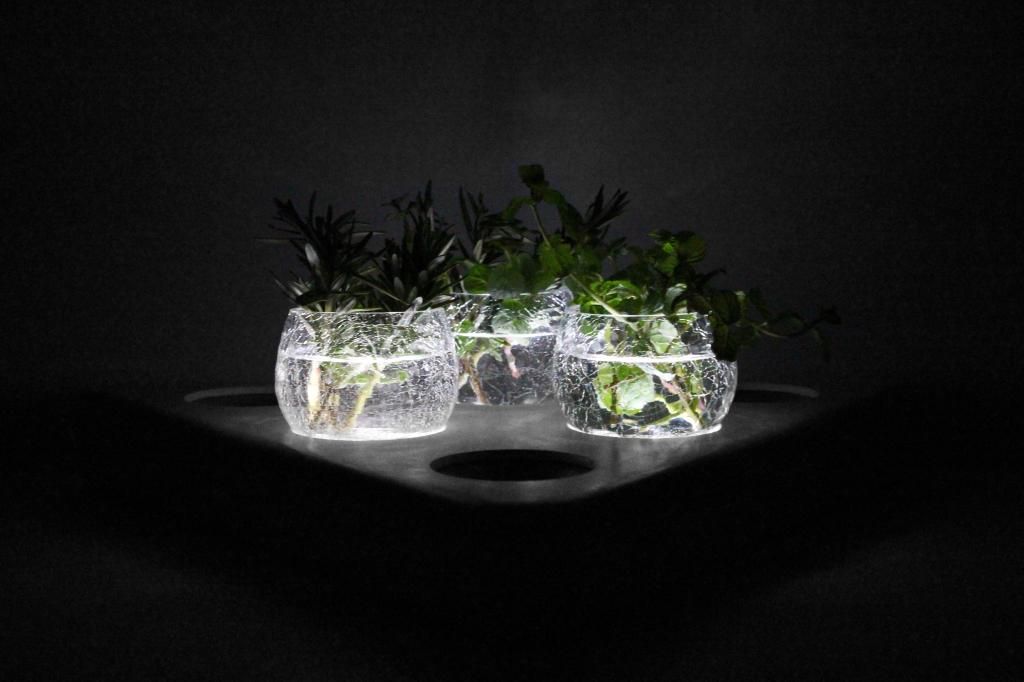
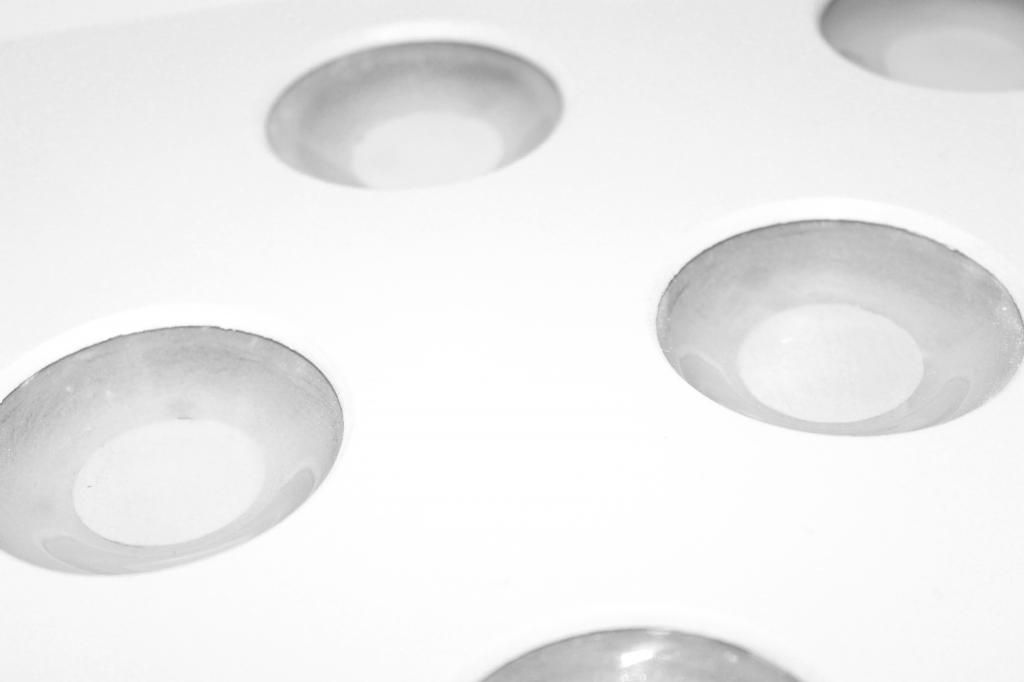
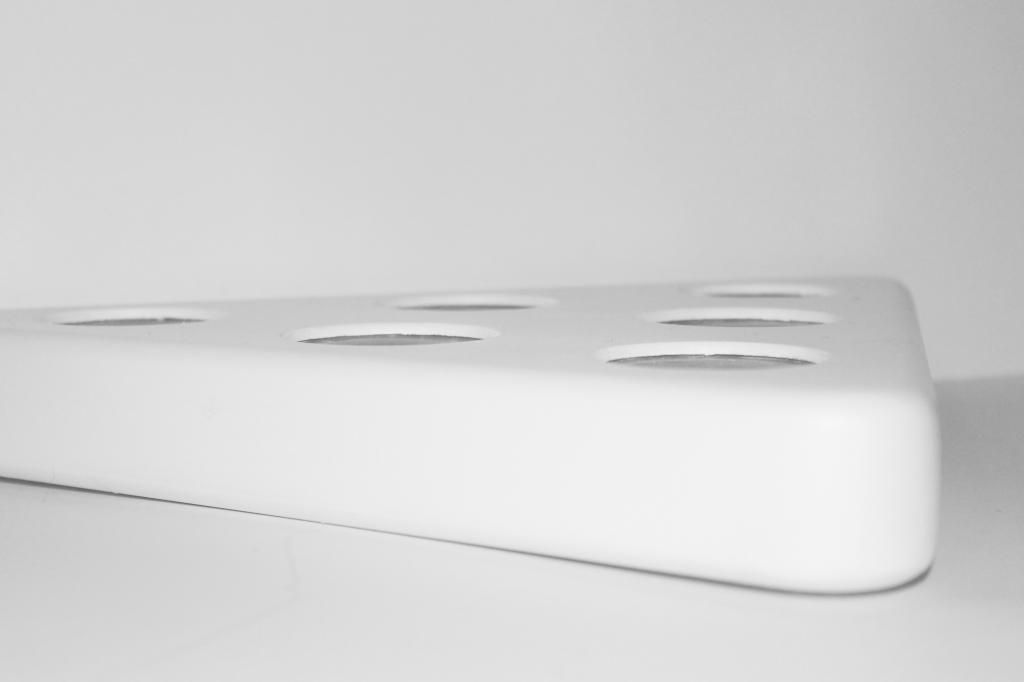
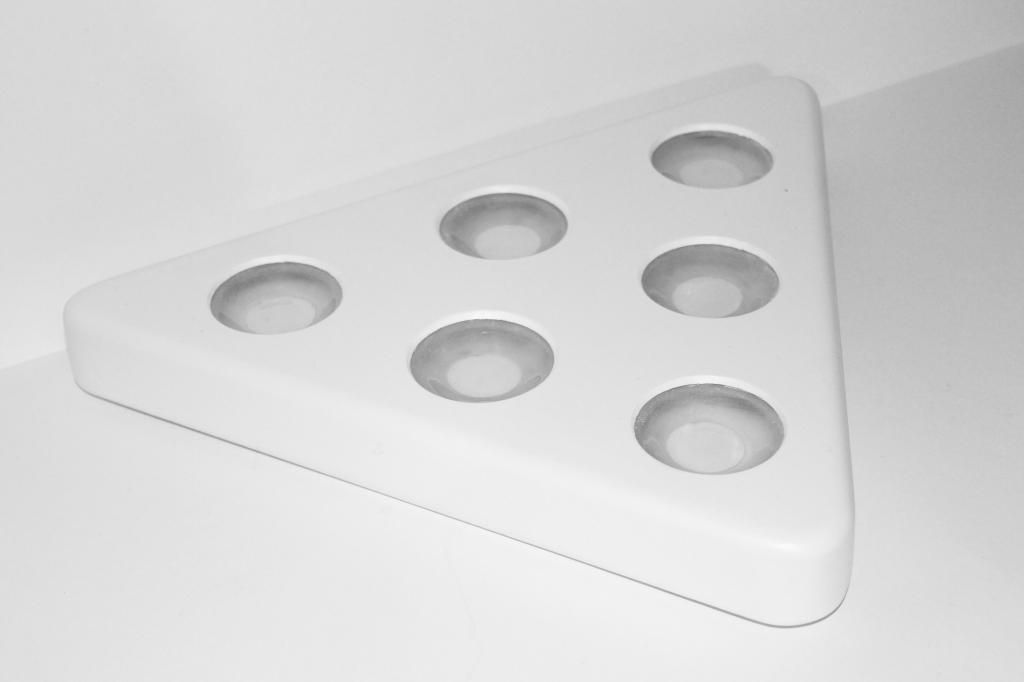
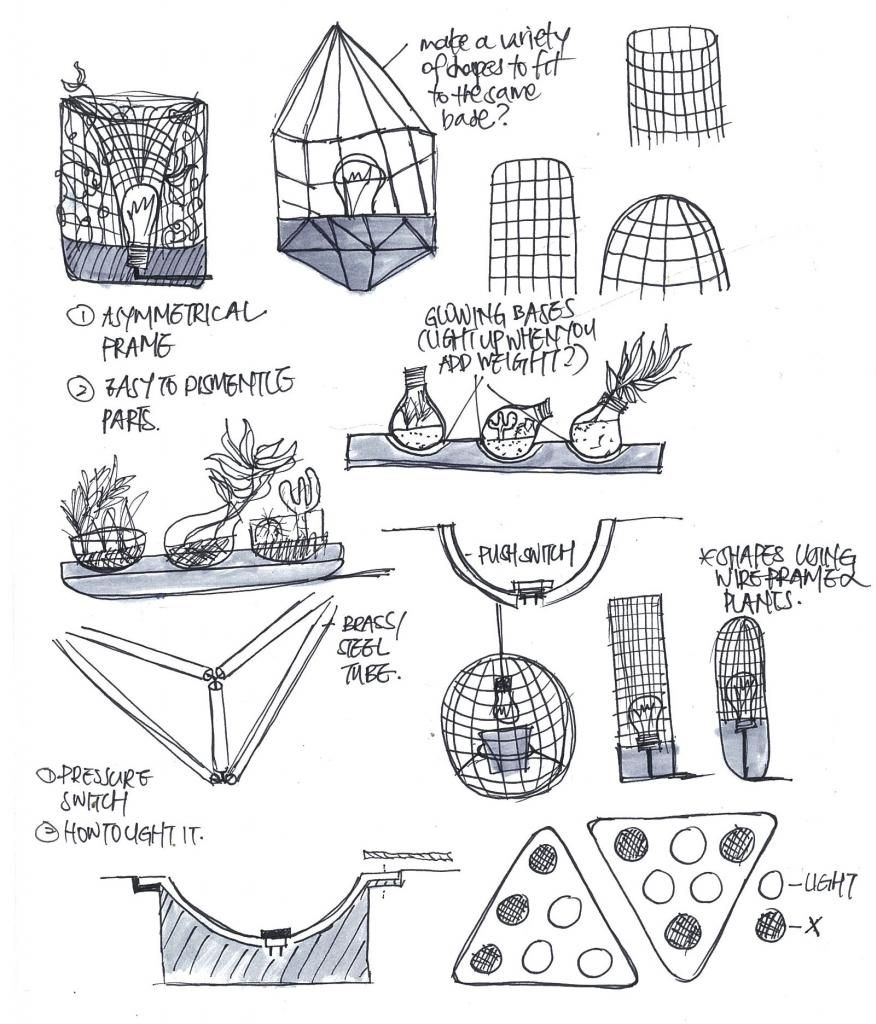
The plates that light up are in the middle to concentrate the light while it is switched on at night and the ones that do not light up are the 3 corners so as to avoid crowding for sunlight in the day.
Labels: indn212

Labels: indn212
Labels: indn212





Labels: indn212
Labels: indn212
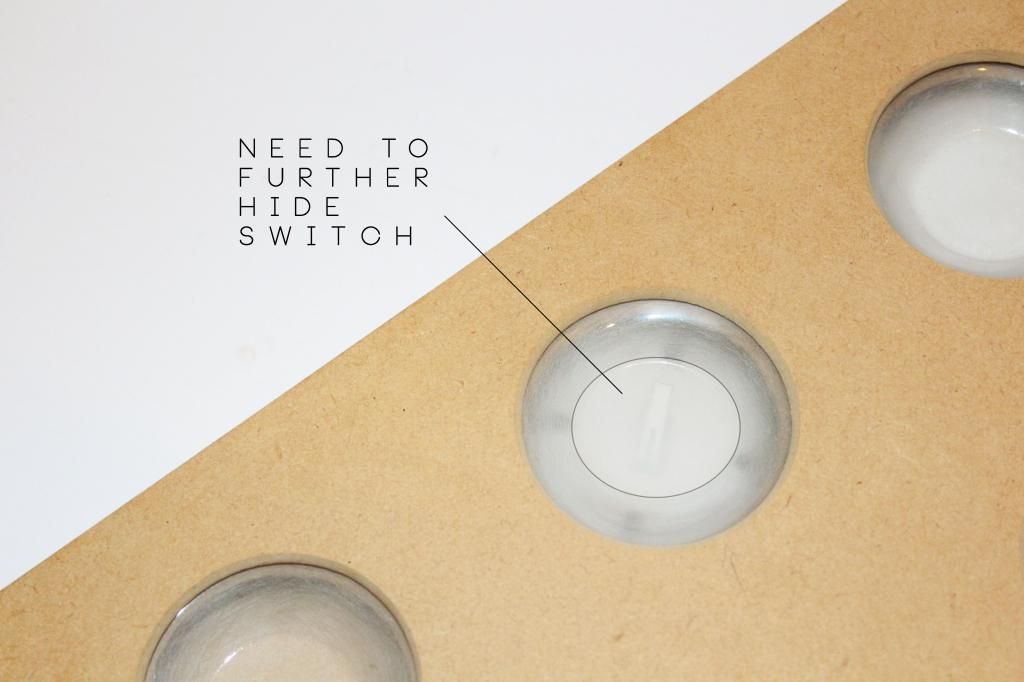
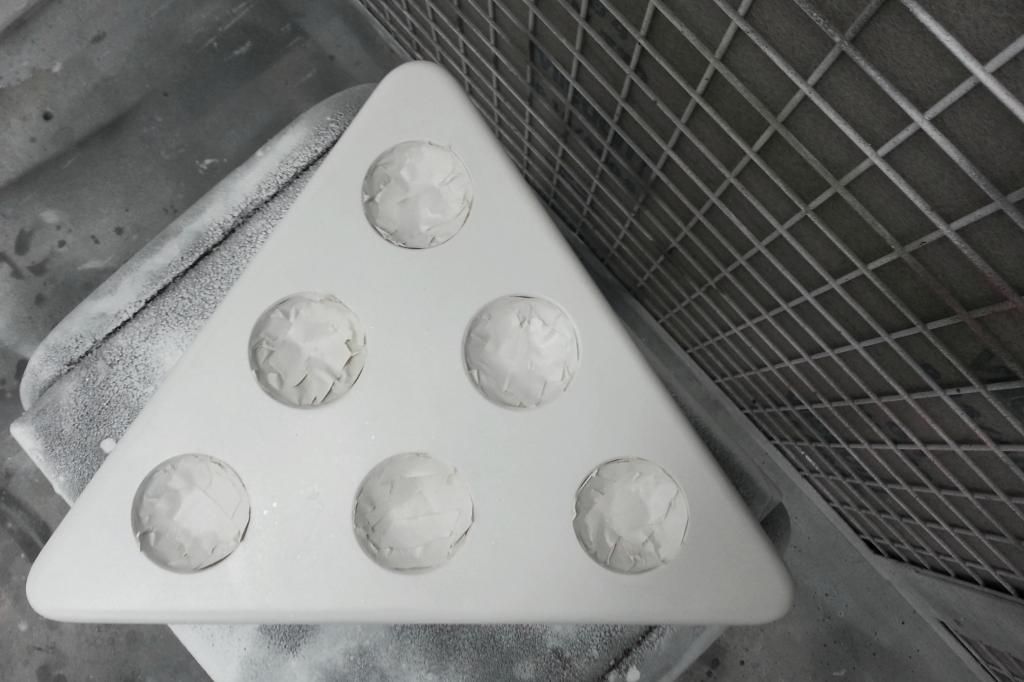
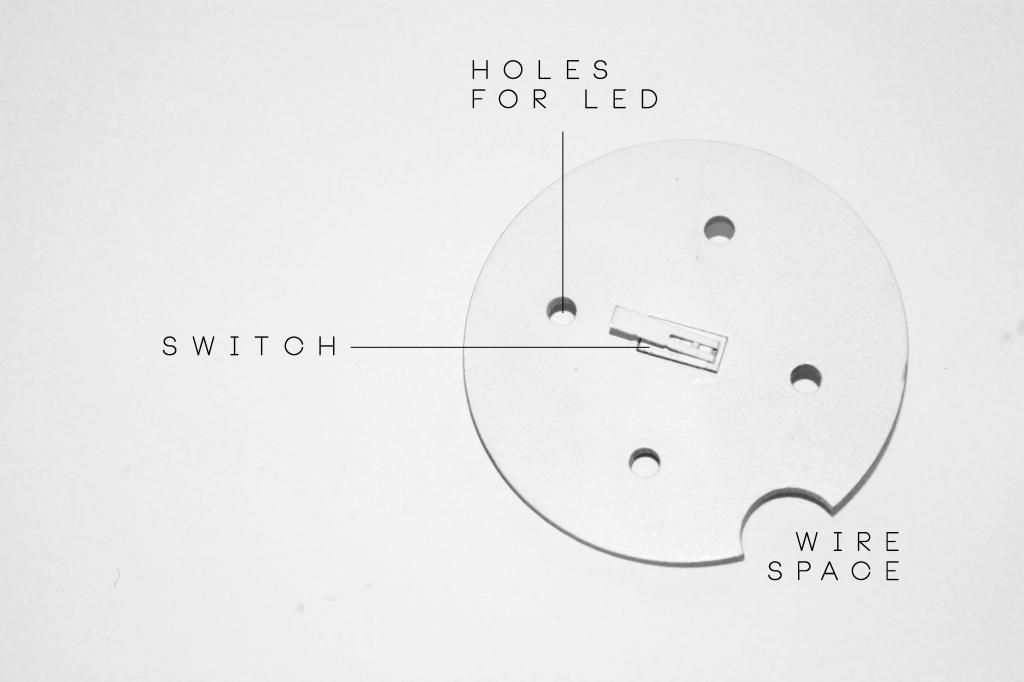
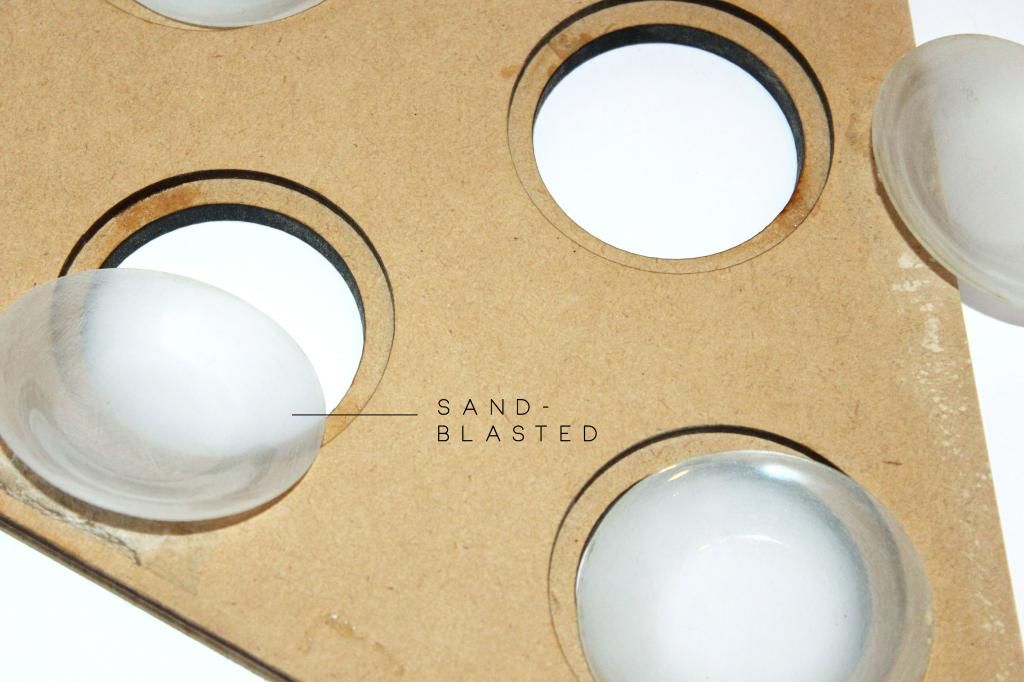
1. Sandblasting the transparent parts did not give me the opacity I need to hide my switches because I did not want it to be too obvious which of the plates will light up and which would not. So I will be glueing thin white circular plastic sheets under each of the plates to give them a more uniform look.

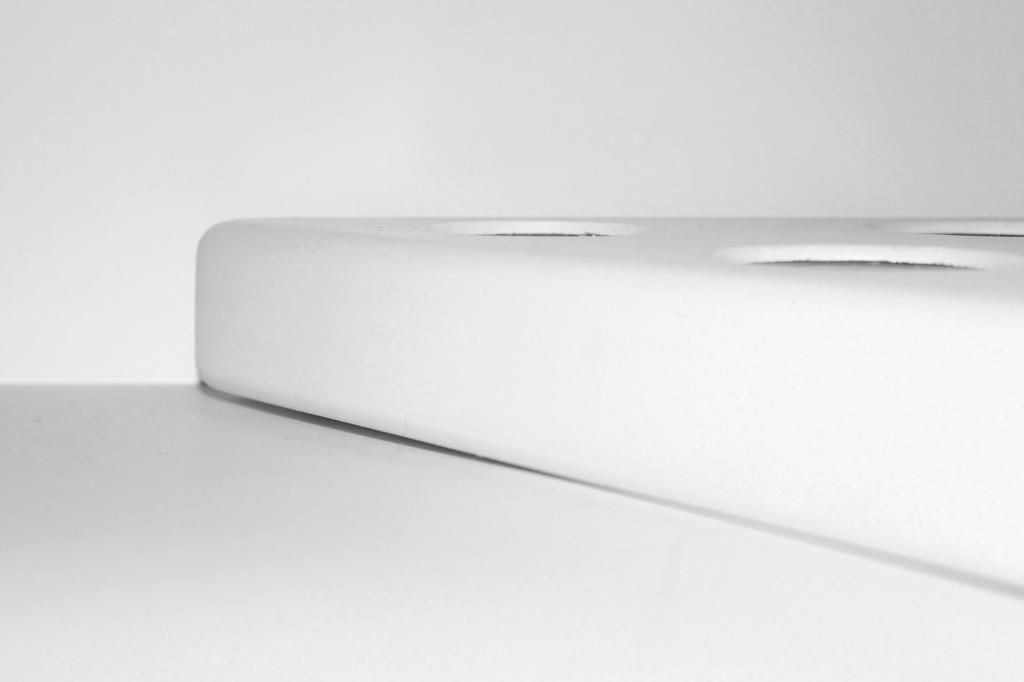
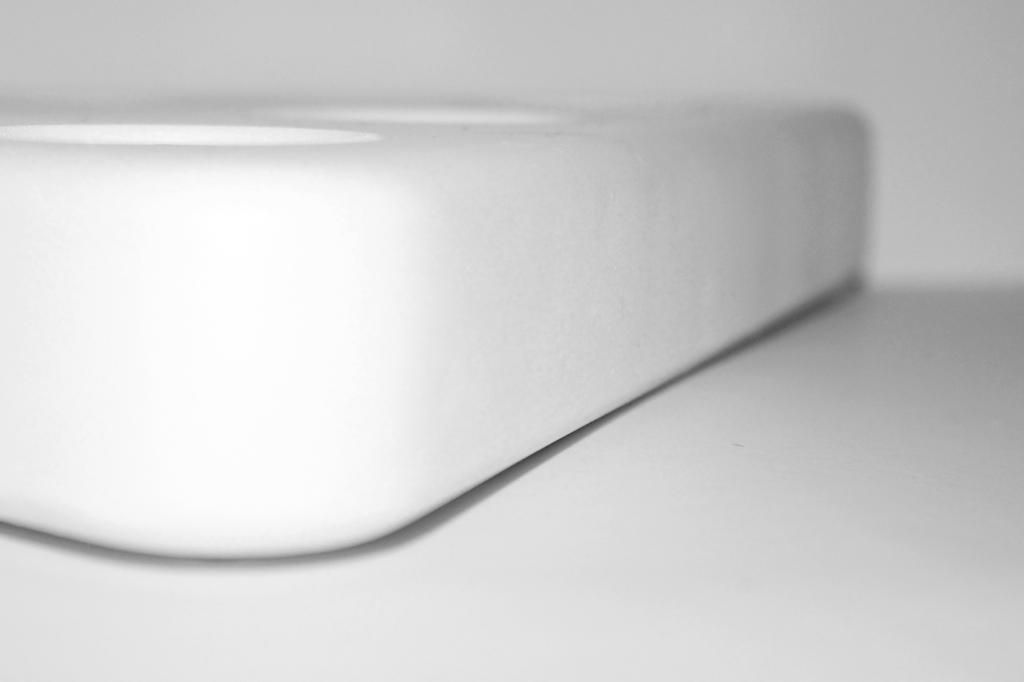
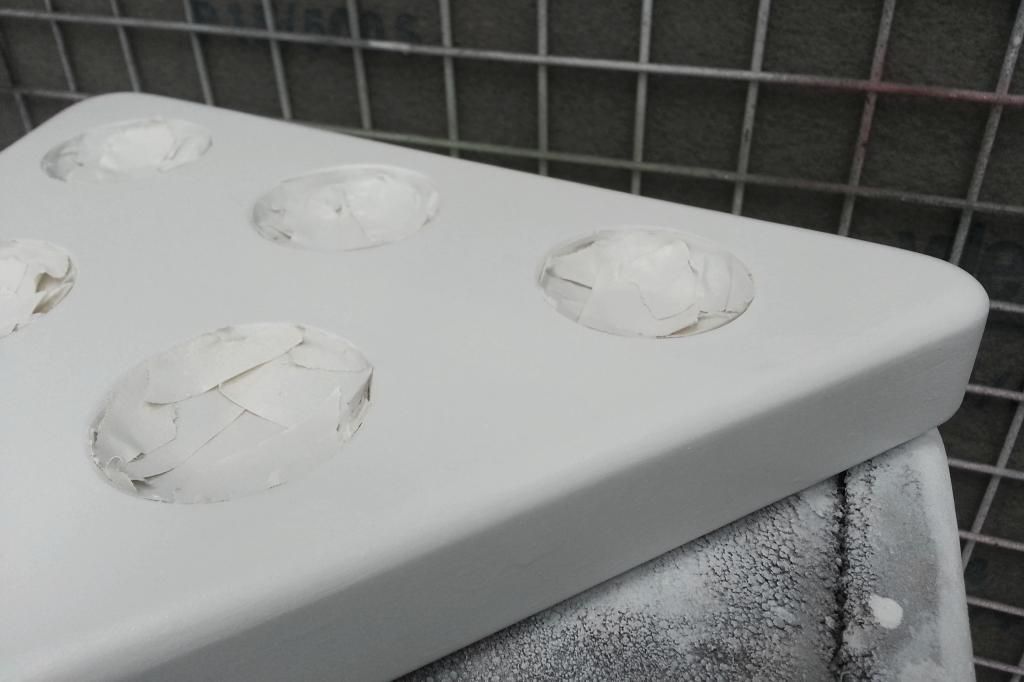
2. Filleting the edges to give the object a smoother and touchable look.
Labels: indn212
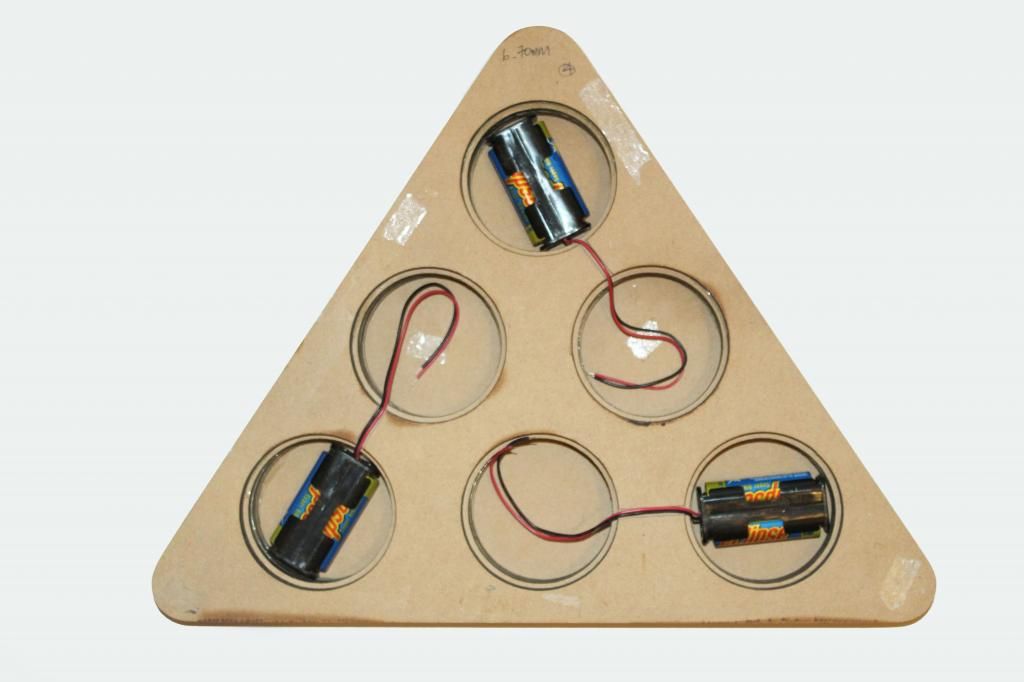
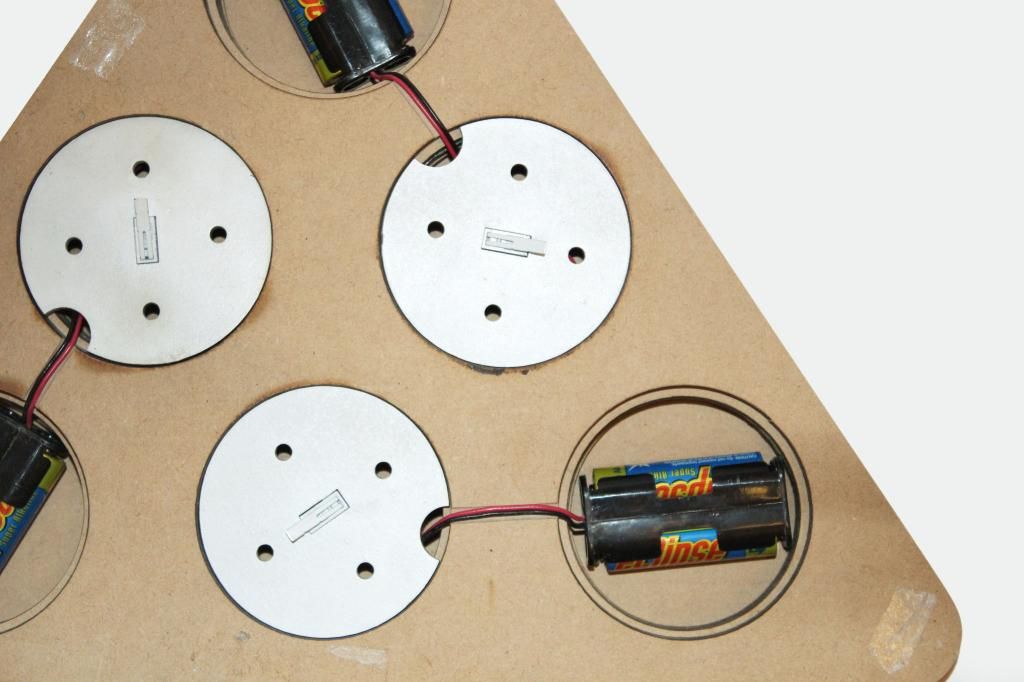
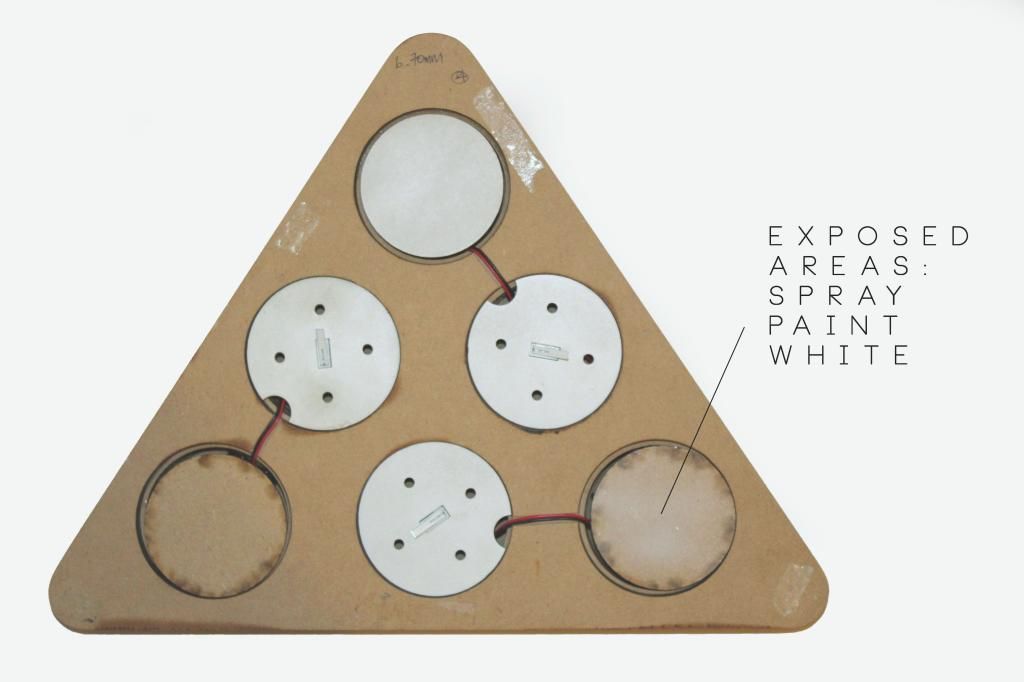
Almost had a problem at this stage because I did not realize that the LEDs I am using would require way more batteries because they need 3V each so 12V in total for each circuit, and I did not have space to fit all the AA batteries it needs. However I managed to get my hands on some 12V batteries which were very small in size and I could have everything fitted in.
Labels: indn212

Labels: indn212
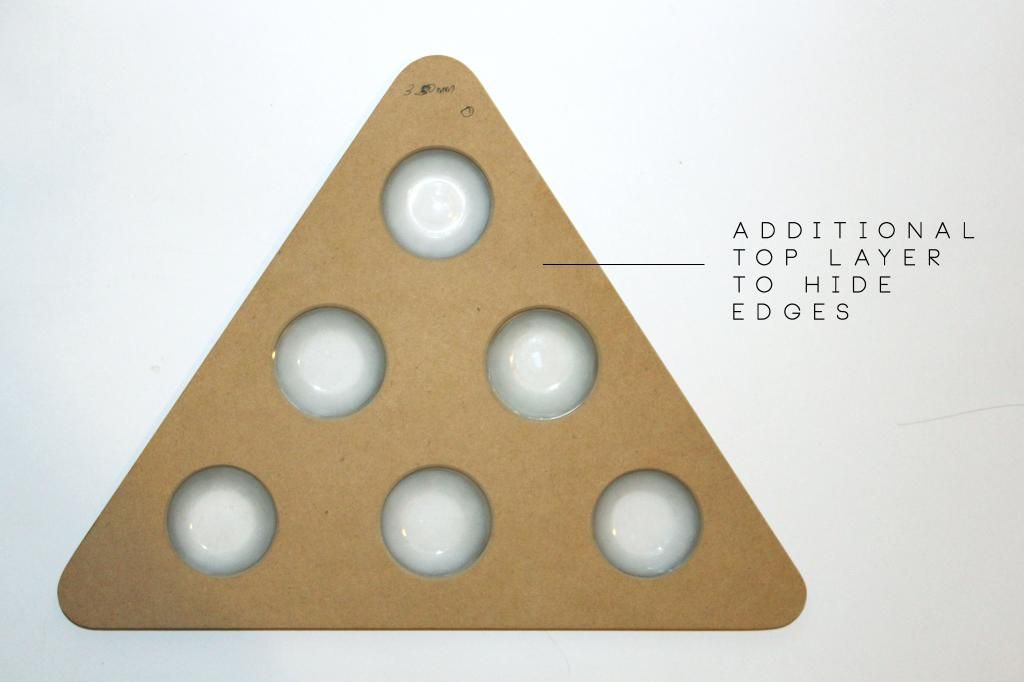
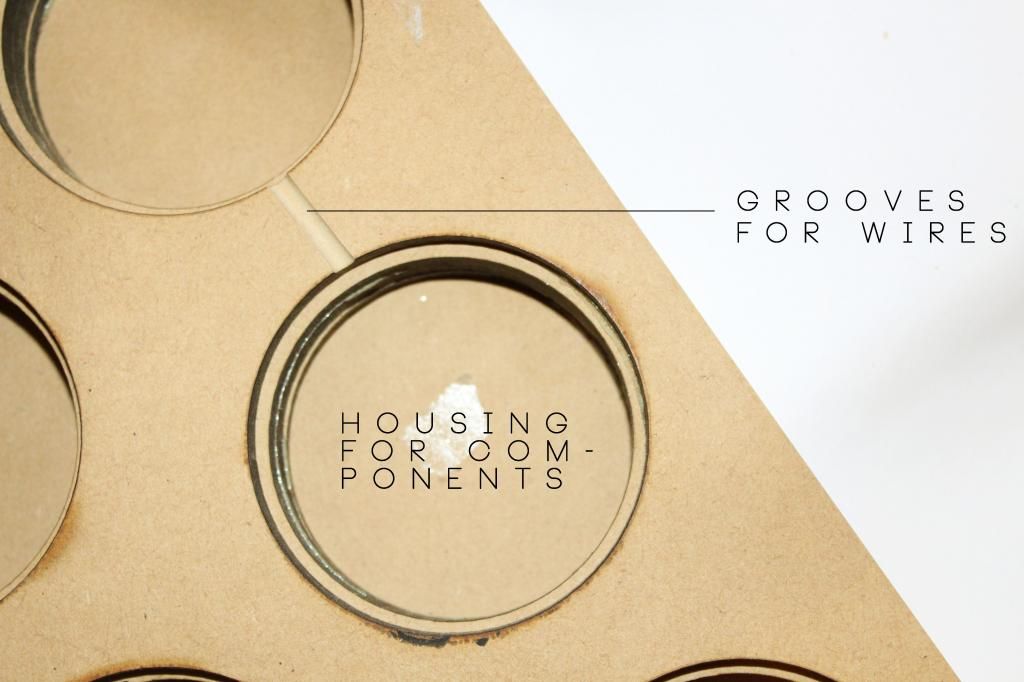
Labels: indn212


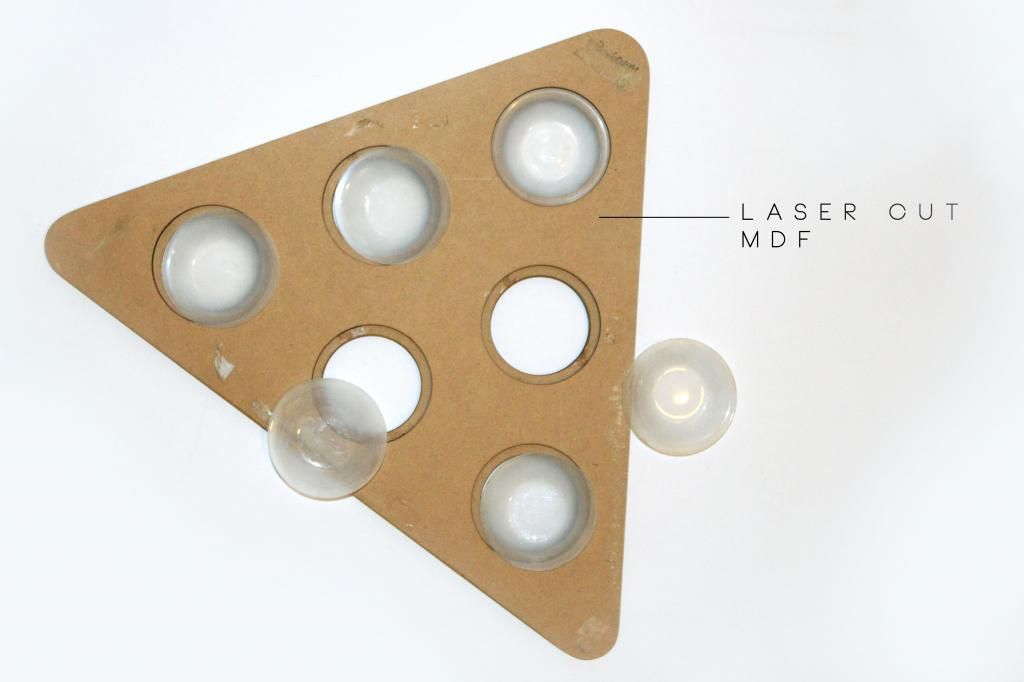
Had to do a couple of tries to get all 6 pieces right. I laser cut a ring of MDF so it would not vacuum form past the top of the part of the jar.
/ Edit
I actually broke one of the three jars that I vacuum formed my plates from and ended up having to buy totally different jars. Unfortunately it does not fit as well as I would have like especially since the interaction between the light and the jar itself was very crucial to the way the light works. I compromised by having some clear acrylic stuck on the bottom of the jars to ensure that it pushes onto the switch well.
Labels: indn212
Labels: indn212



Labels: indn212

Labels: indn212

Labels: indn212
Labels: indn212
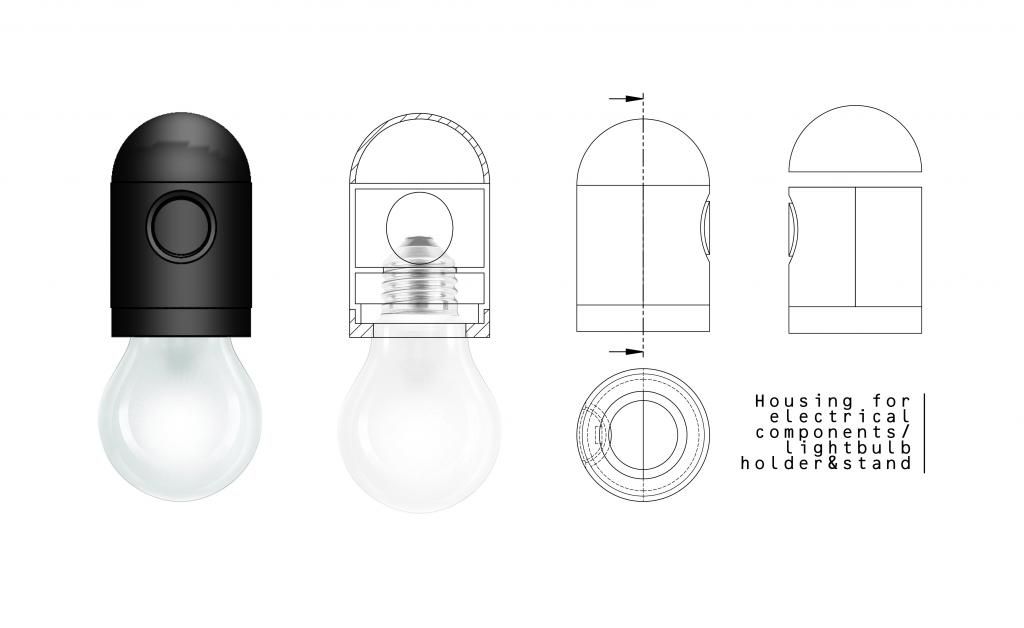
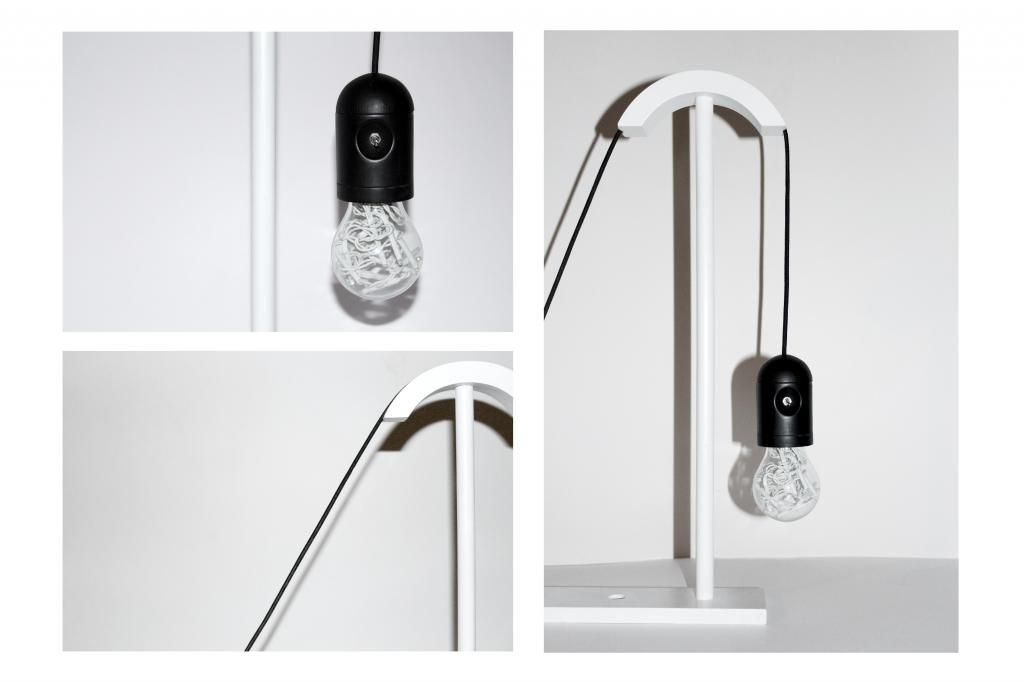
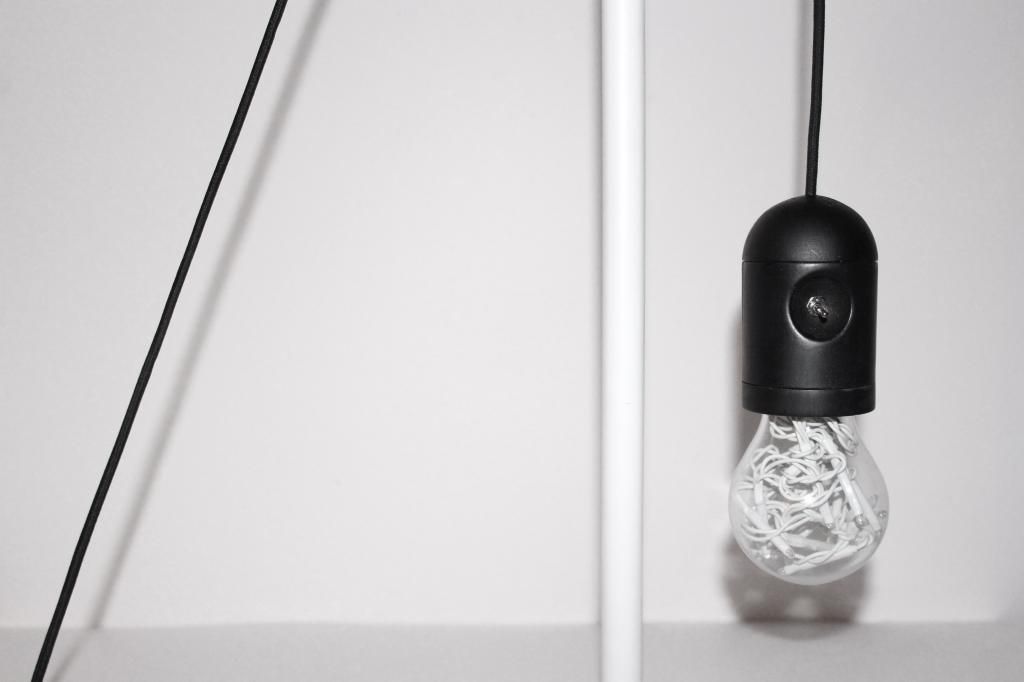
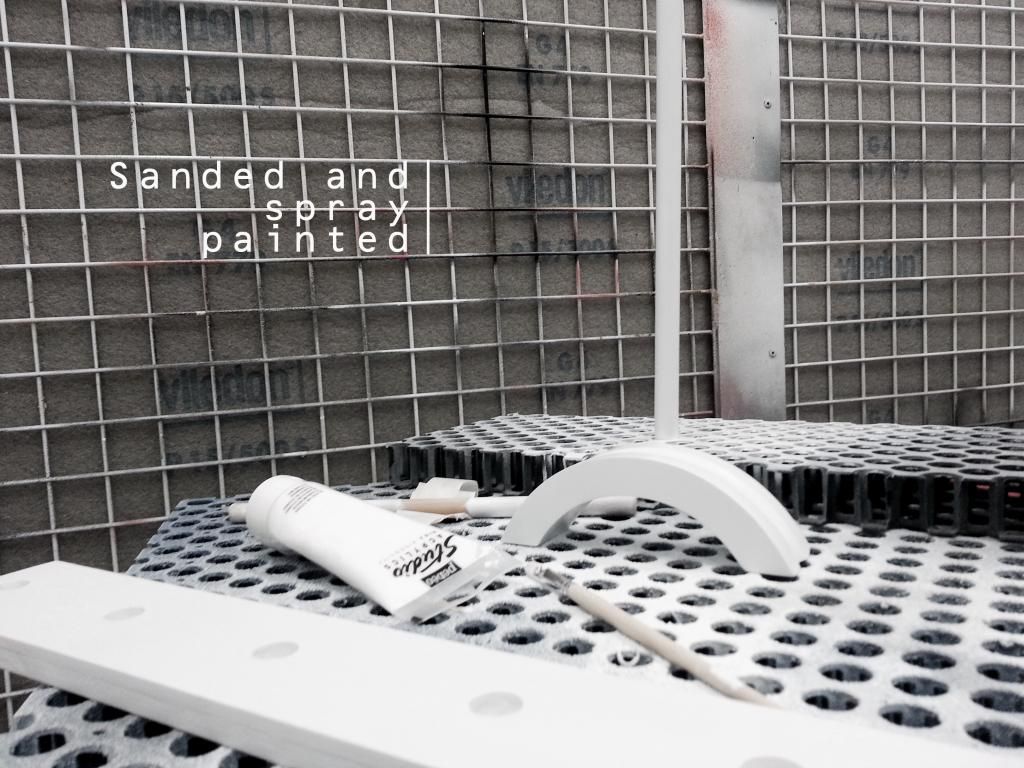
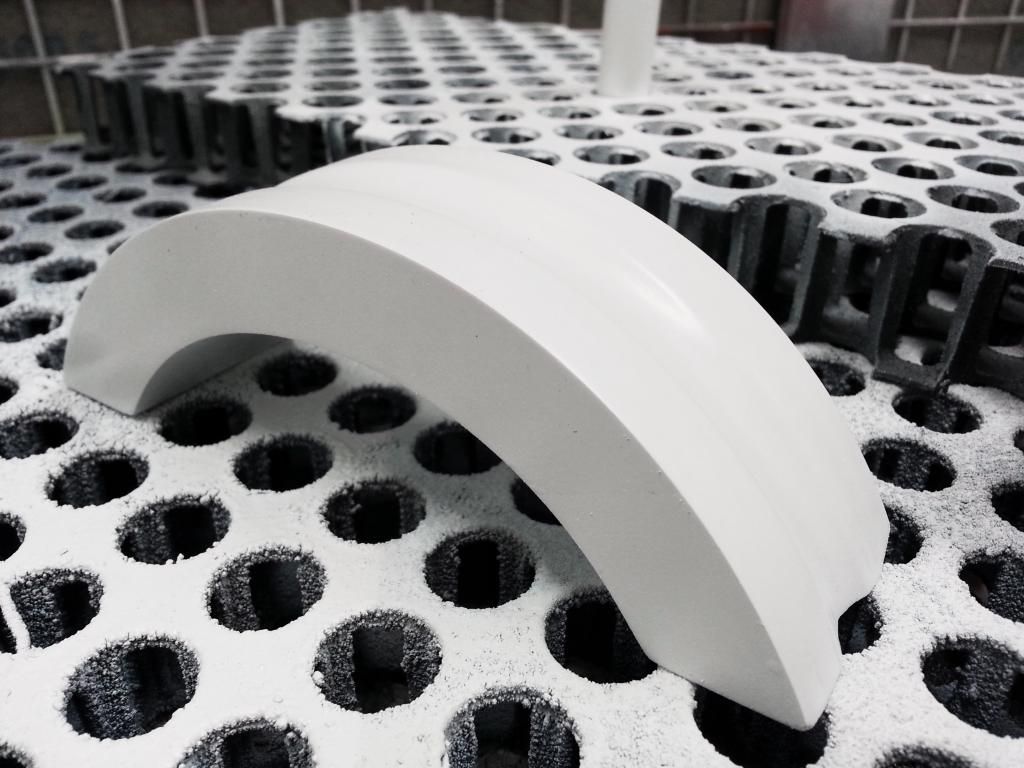
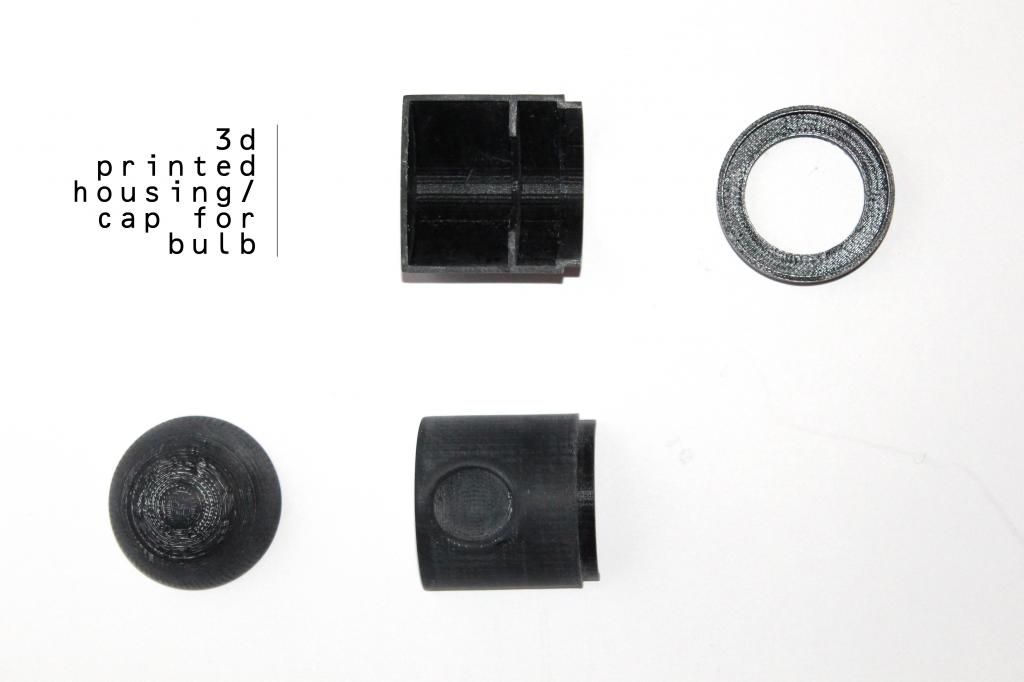
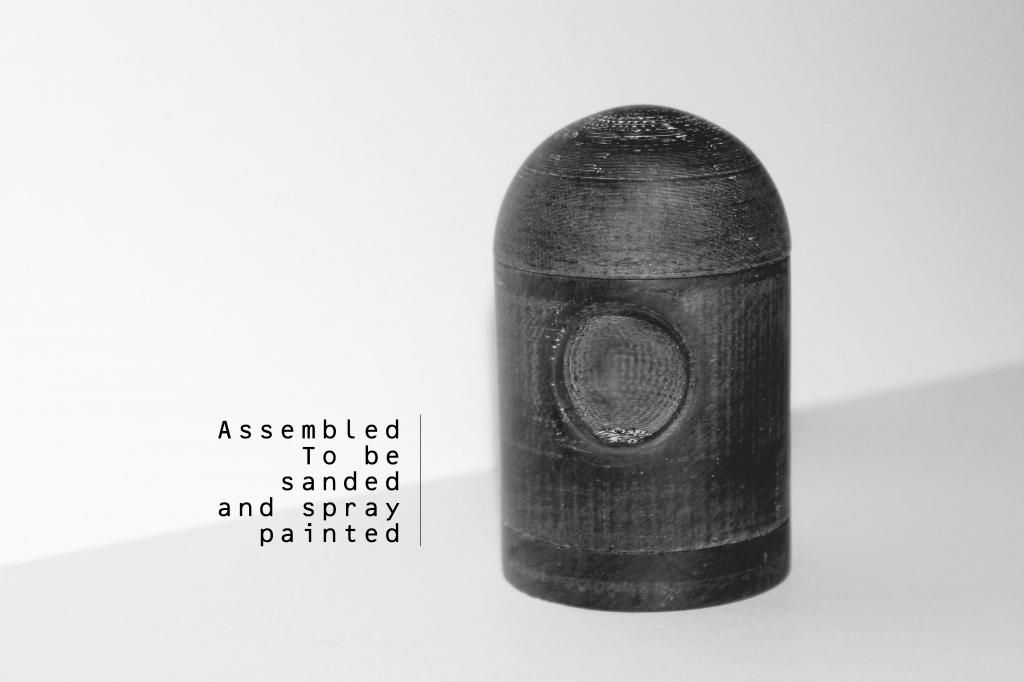
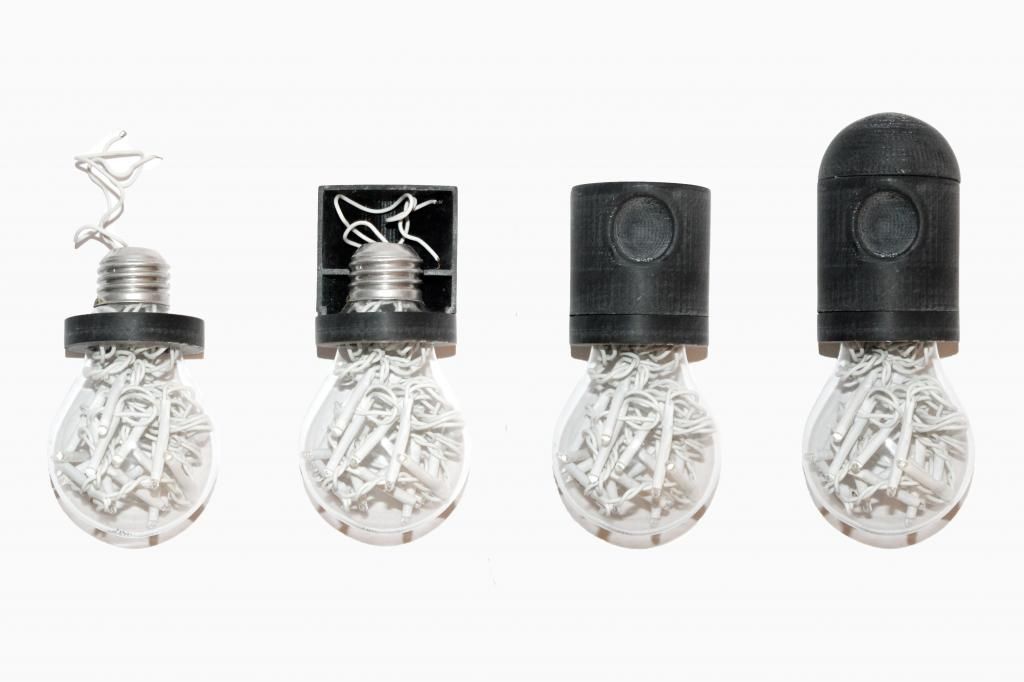
This is the part that will go above the light bulb and house all the electronics. It will also have a magnetic top so the user would be detach it from the stand and bring it to bed.
Labels: indn212
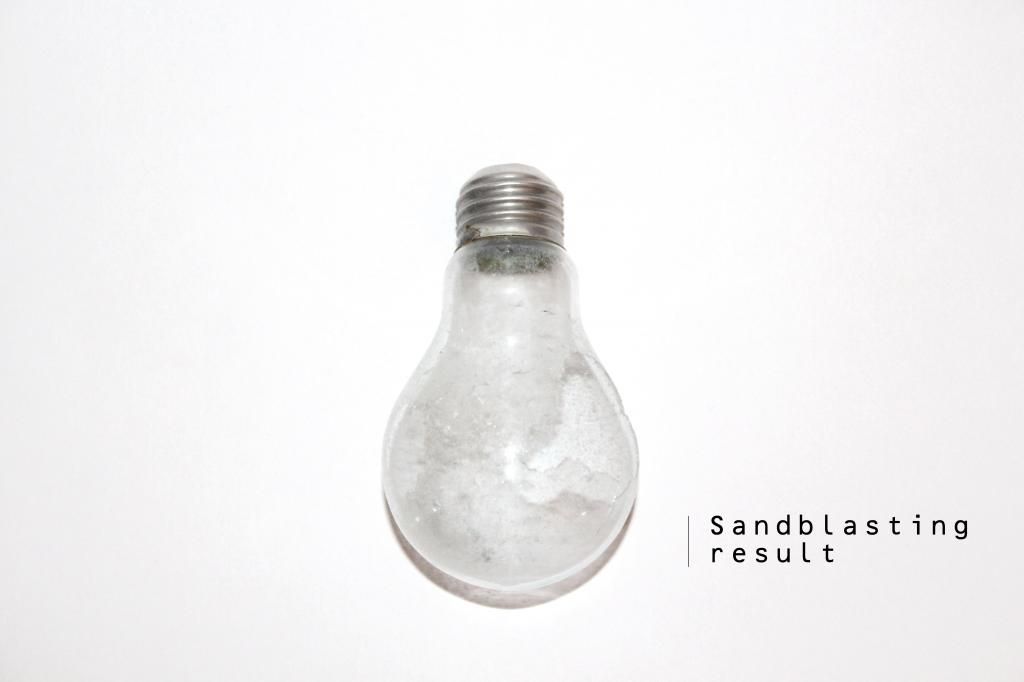

Tried sandblasting the light bulb to create a frosted glass effect and maybe help to diffuse the light a little but it just broke the bulb and the areas which were not broken did not the texture I wanted. So I will just keep the bulb as it is.
Labels: indn212
0 comments / + add comment